
Electronic signatures are a nifty way to express consent and legal agreement digitally. In addition to being legally binding, it also saves time and paper in an increasingly environmentally conscious world. Although there are several eSignature products on the market, organizations need one that can be customized and works well with their existing workflows. SELISE Signature is the go-to alternative for organizations searching for a personalized and effective way to sign contracts and other essential documents – thanks to its distinctive branding possibilities and wide range of integrations on offer, SELISE provides a thoroughly customizable eSignature solution. Here, we’ll walk you through each step of utilizing SELISE Signature to create a digital contract that is valid in a court of law (depending on your region, of course).
Factors to consider when choosing the right eSignature provider
The first step to creating a legally recognized digital contract is to sign up for an eSignature service. While there are several eSignature solutions available, it’s crucial to choose one that meets your business needs and is compliant with relevant regulations.
Choosing the right eSignature service provider is a crucial decision for any business utilizing digital contract processing. Here are some key factors to consider when making your choice:
SELISE Signature offers all of these key features, making it an excellent choice for businesses looking for a reliable, secure, and customizable eSignature service. Its flexibility, multi-usage and cost-efficiency make it stand out among other providers in the market. With SELISE Signature, businesses can create legally valid eSignatures that align with their brand identity, streamline their workflows, and reduce costs.
Here’s how you can sign up and purchase SELISE Signature:
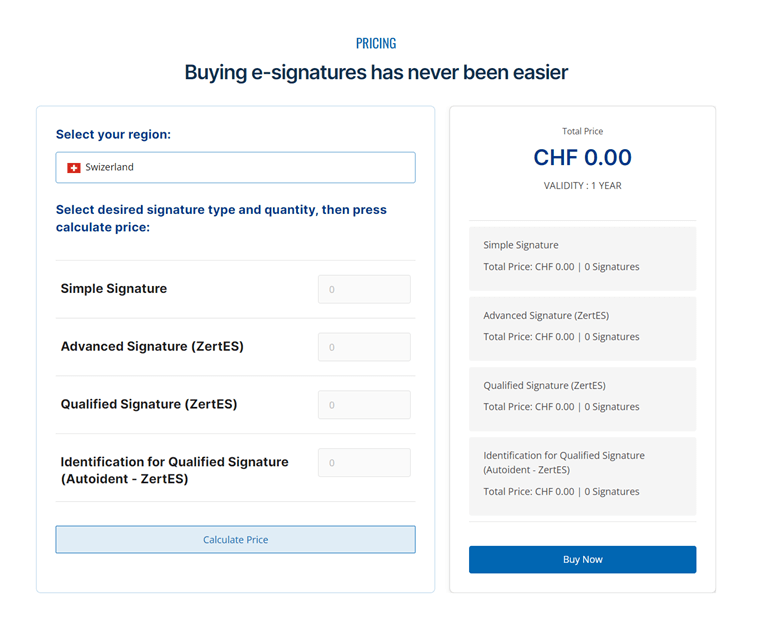
SELISE Signature offers a unique pricing calculator feature on their website that allows users to customize their own package based on their specific needs. By visiting, users can select from various options such as the number of signatures they require, the number of users who will be using the service, and the level of support they need.
As users adjust the different options, the pricing calculator will display the total cost of the package in real-time. This allows users to create a package that fits their budget while still meeting all of their requirements.
SELISE Signature also offers a free trial that allows users to test the service and its features before committing to a paid package. This is an excellent opportunity for businesses to see if SELISE Signature meets their needs without any financial commitment.
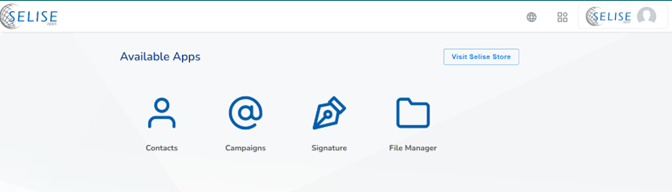
Once you have completed the payment process, you will be able to access your account dashboard. From here, you can customize your signature, upload important documents, and start using SELISE Signature to sign and send contracts and other legal documents.
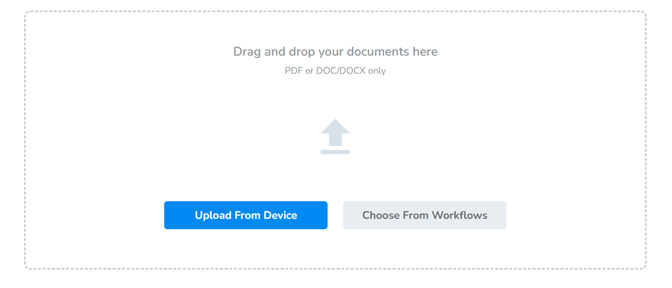
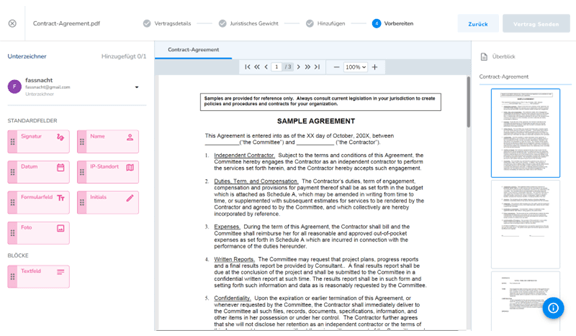
First, upload the PDF that needs to be signed. The name of the PDF will be automatically set as the Name of the Contract, but you can change it if you prefer. You can also add multiple PDFs if needed.

In the second step, you’ll be asked to choose the legal weight of the contract. Select Simple if you want to ensure document integrity and traceability or Advanced if you need a legally binding contract with two-factor authentication.
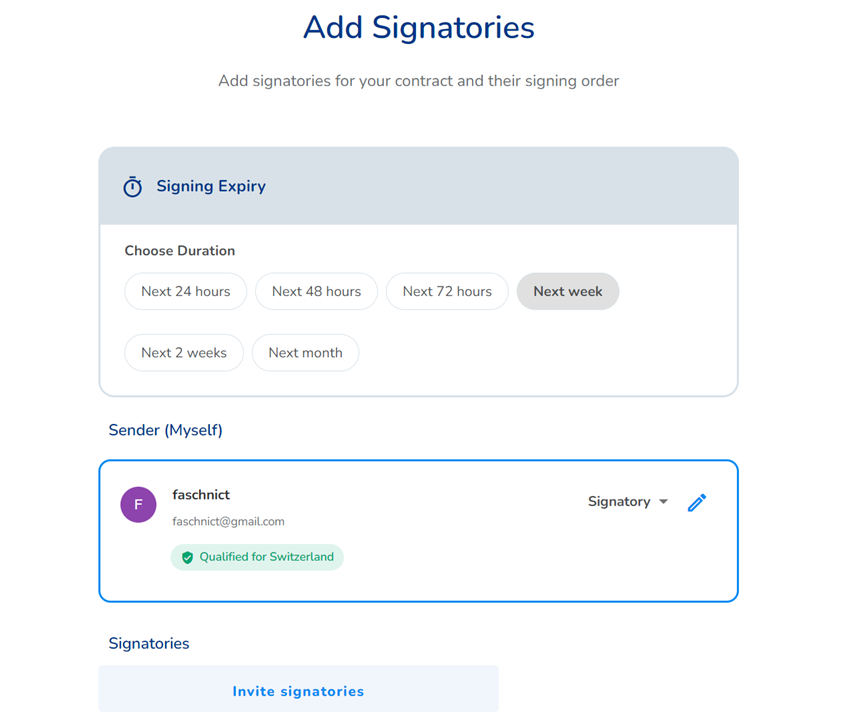
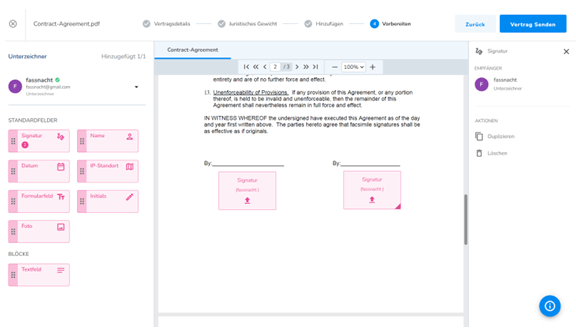
Once the document is prepared by the user, the user can click on the Send Contract button on the top and every signatory and viewer of the contract will be sent an email invitation to sign or view the contract.
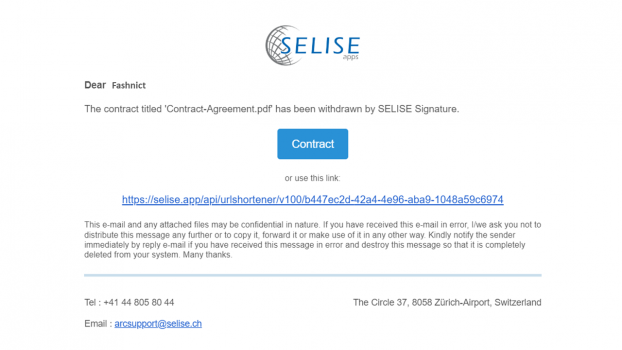
Once you receive an invitation to sign the contract, click on the link in the email or log in to SELISE Signature and access the contract from the Received Contracts list, My Contracts list, Yet to Sign list, or Pending list.
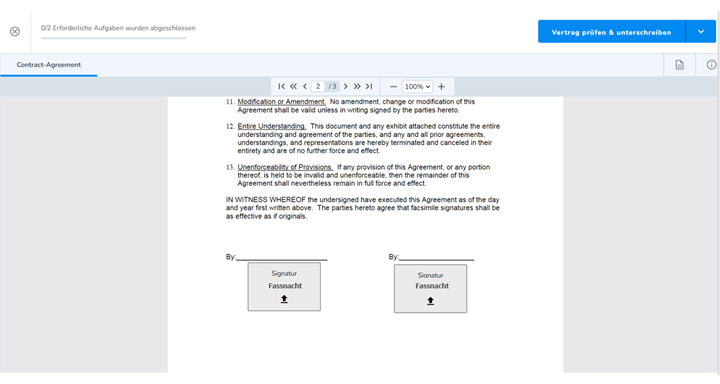
If you’re authenticated by our signing providers (Swisscom/Signing Hub), you can proceed with the signing process. However, if you’re not authenticated, you’ll be asked to authenticate yourself first before signing the contract. The authentication process is done by our provider and you’ll be redirected to their system to complete the authentication.
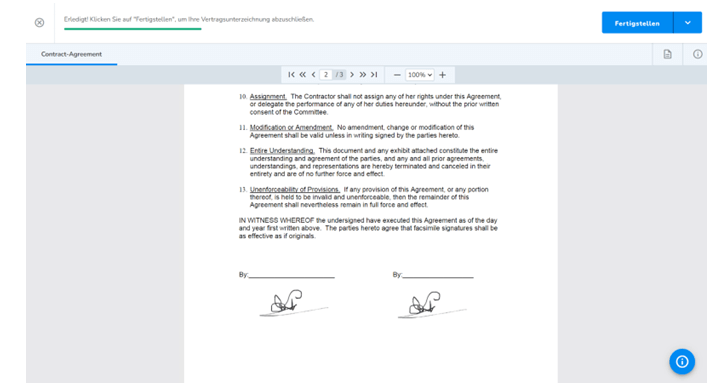
That’s it! Once you’ve completed the signing process, the contract is considered signed and legally binding. You can access the signed contract anytime from the My Contracts list. It’s that simple and easy with SELISE Signature.
Creating a legally valid eSignature is no longer a complicated and time-consuming process. Thanks to modern technology and platforms like SELISE Signature, anyone can create a secure, efficient, and legally binding signature in just a few clicks. SELISE Signature offers a customizable and seamless integration experience to ensure a hassle-free experience for all users. And the best part? You can try it for free and experience the benefits for yourself.
So why wait? Try out SELISE Signature and discover how easy it is to create legally valid eSignatures today!
Email: info@selise.ch
Contact Number: +49 89 54196883